> ## Documentation Index
> Fetch the complete documentation index at: https://talent.docs.mercor.com/llms.txt
> Use this file to discover all available pages before exploring further.
# Project Onboarding
> A comprehensive guide on how to access, review, and accept your Mercor offer — including background checks, payments, and document signing.
This guide comprehensively details each phase of the Mercor offer onboarding process — from the receipt of your contract to configuring payments and recording time.
## 1. Access Your Offer
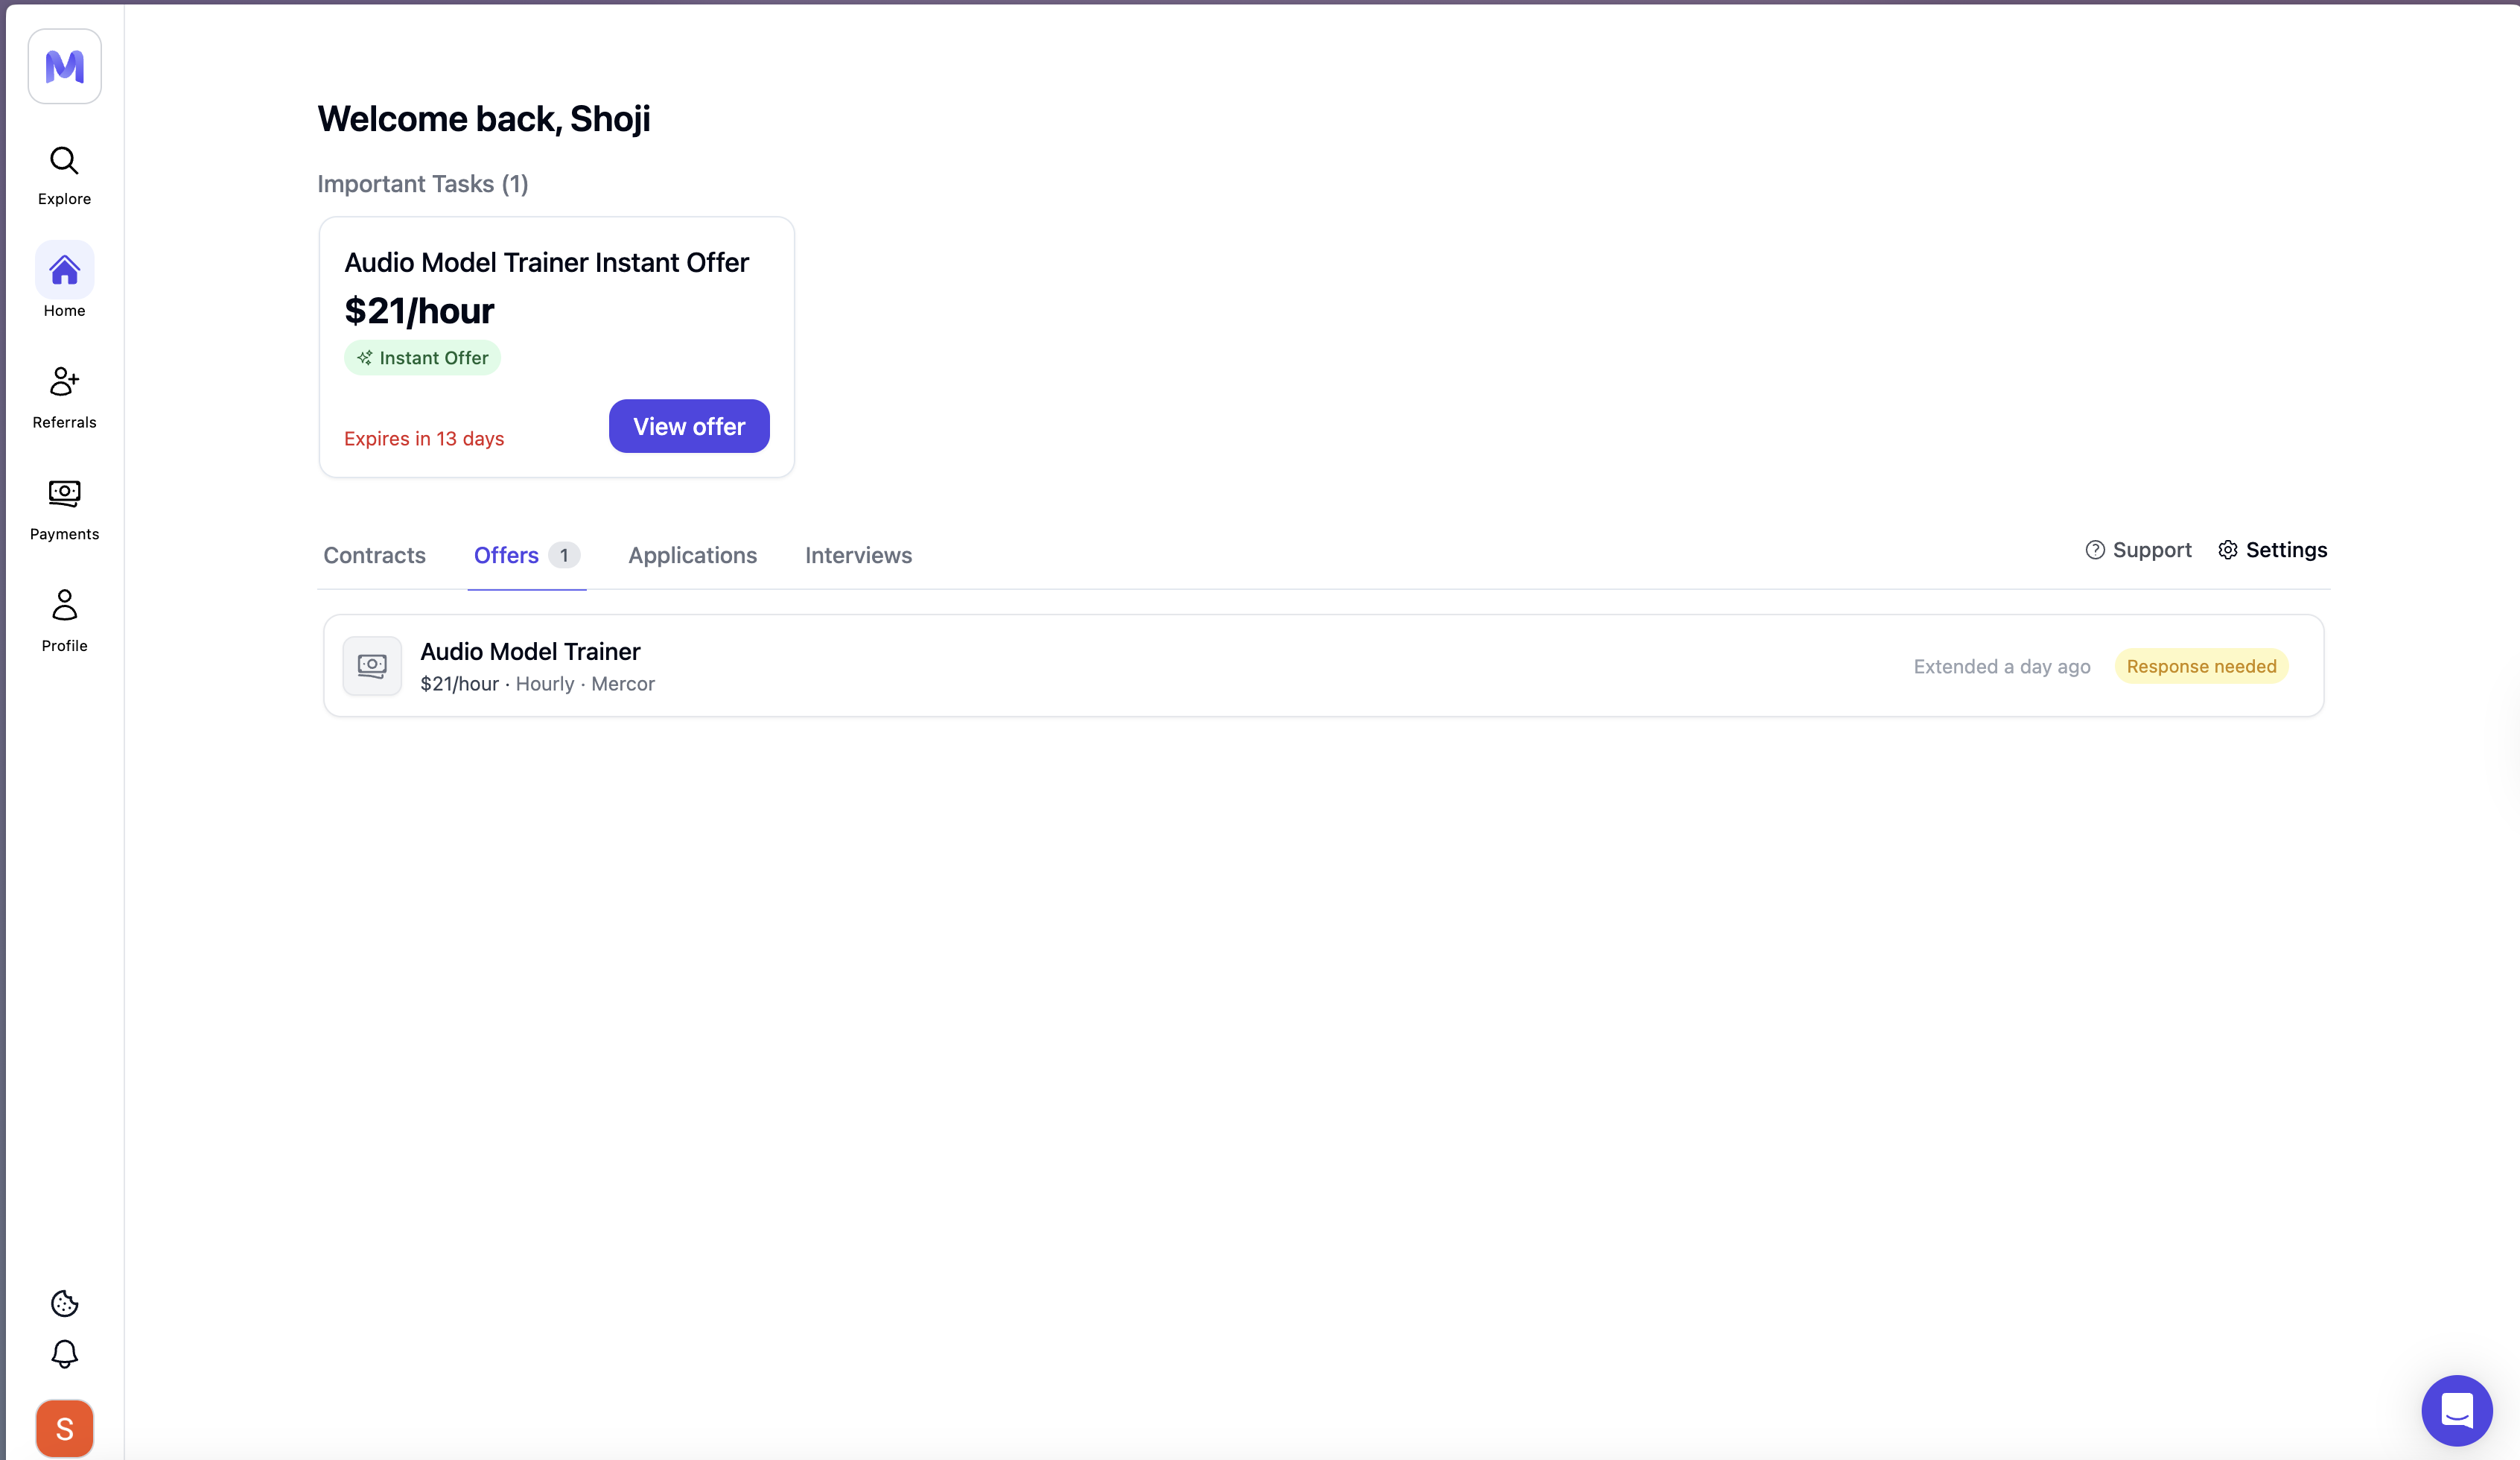
New offers are presented as a **significant task** within the **Offers** tab on your dashboard. Please click on **'View Offer'** to initiate the process.
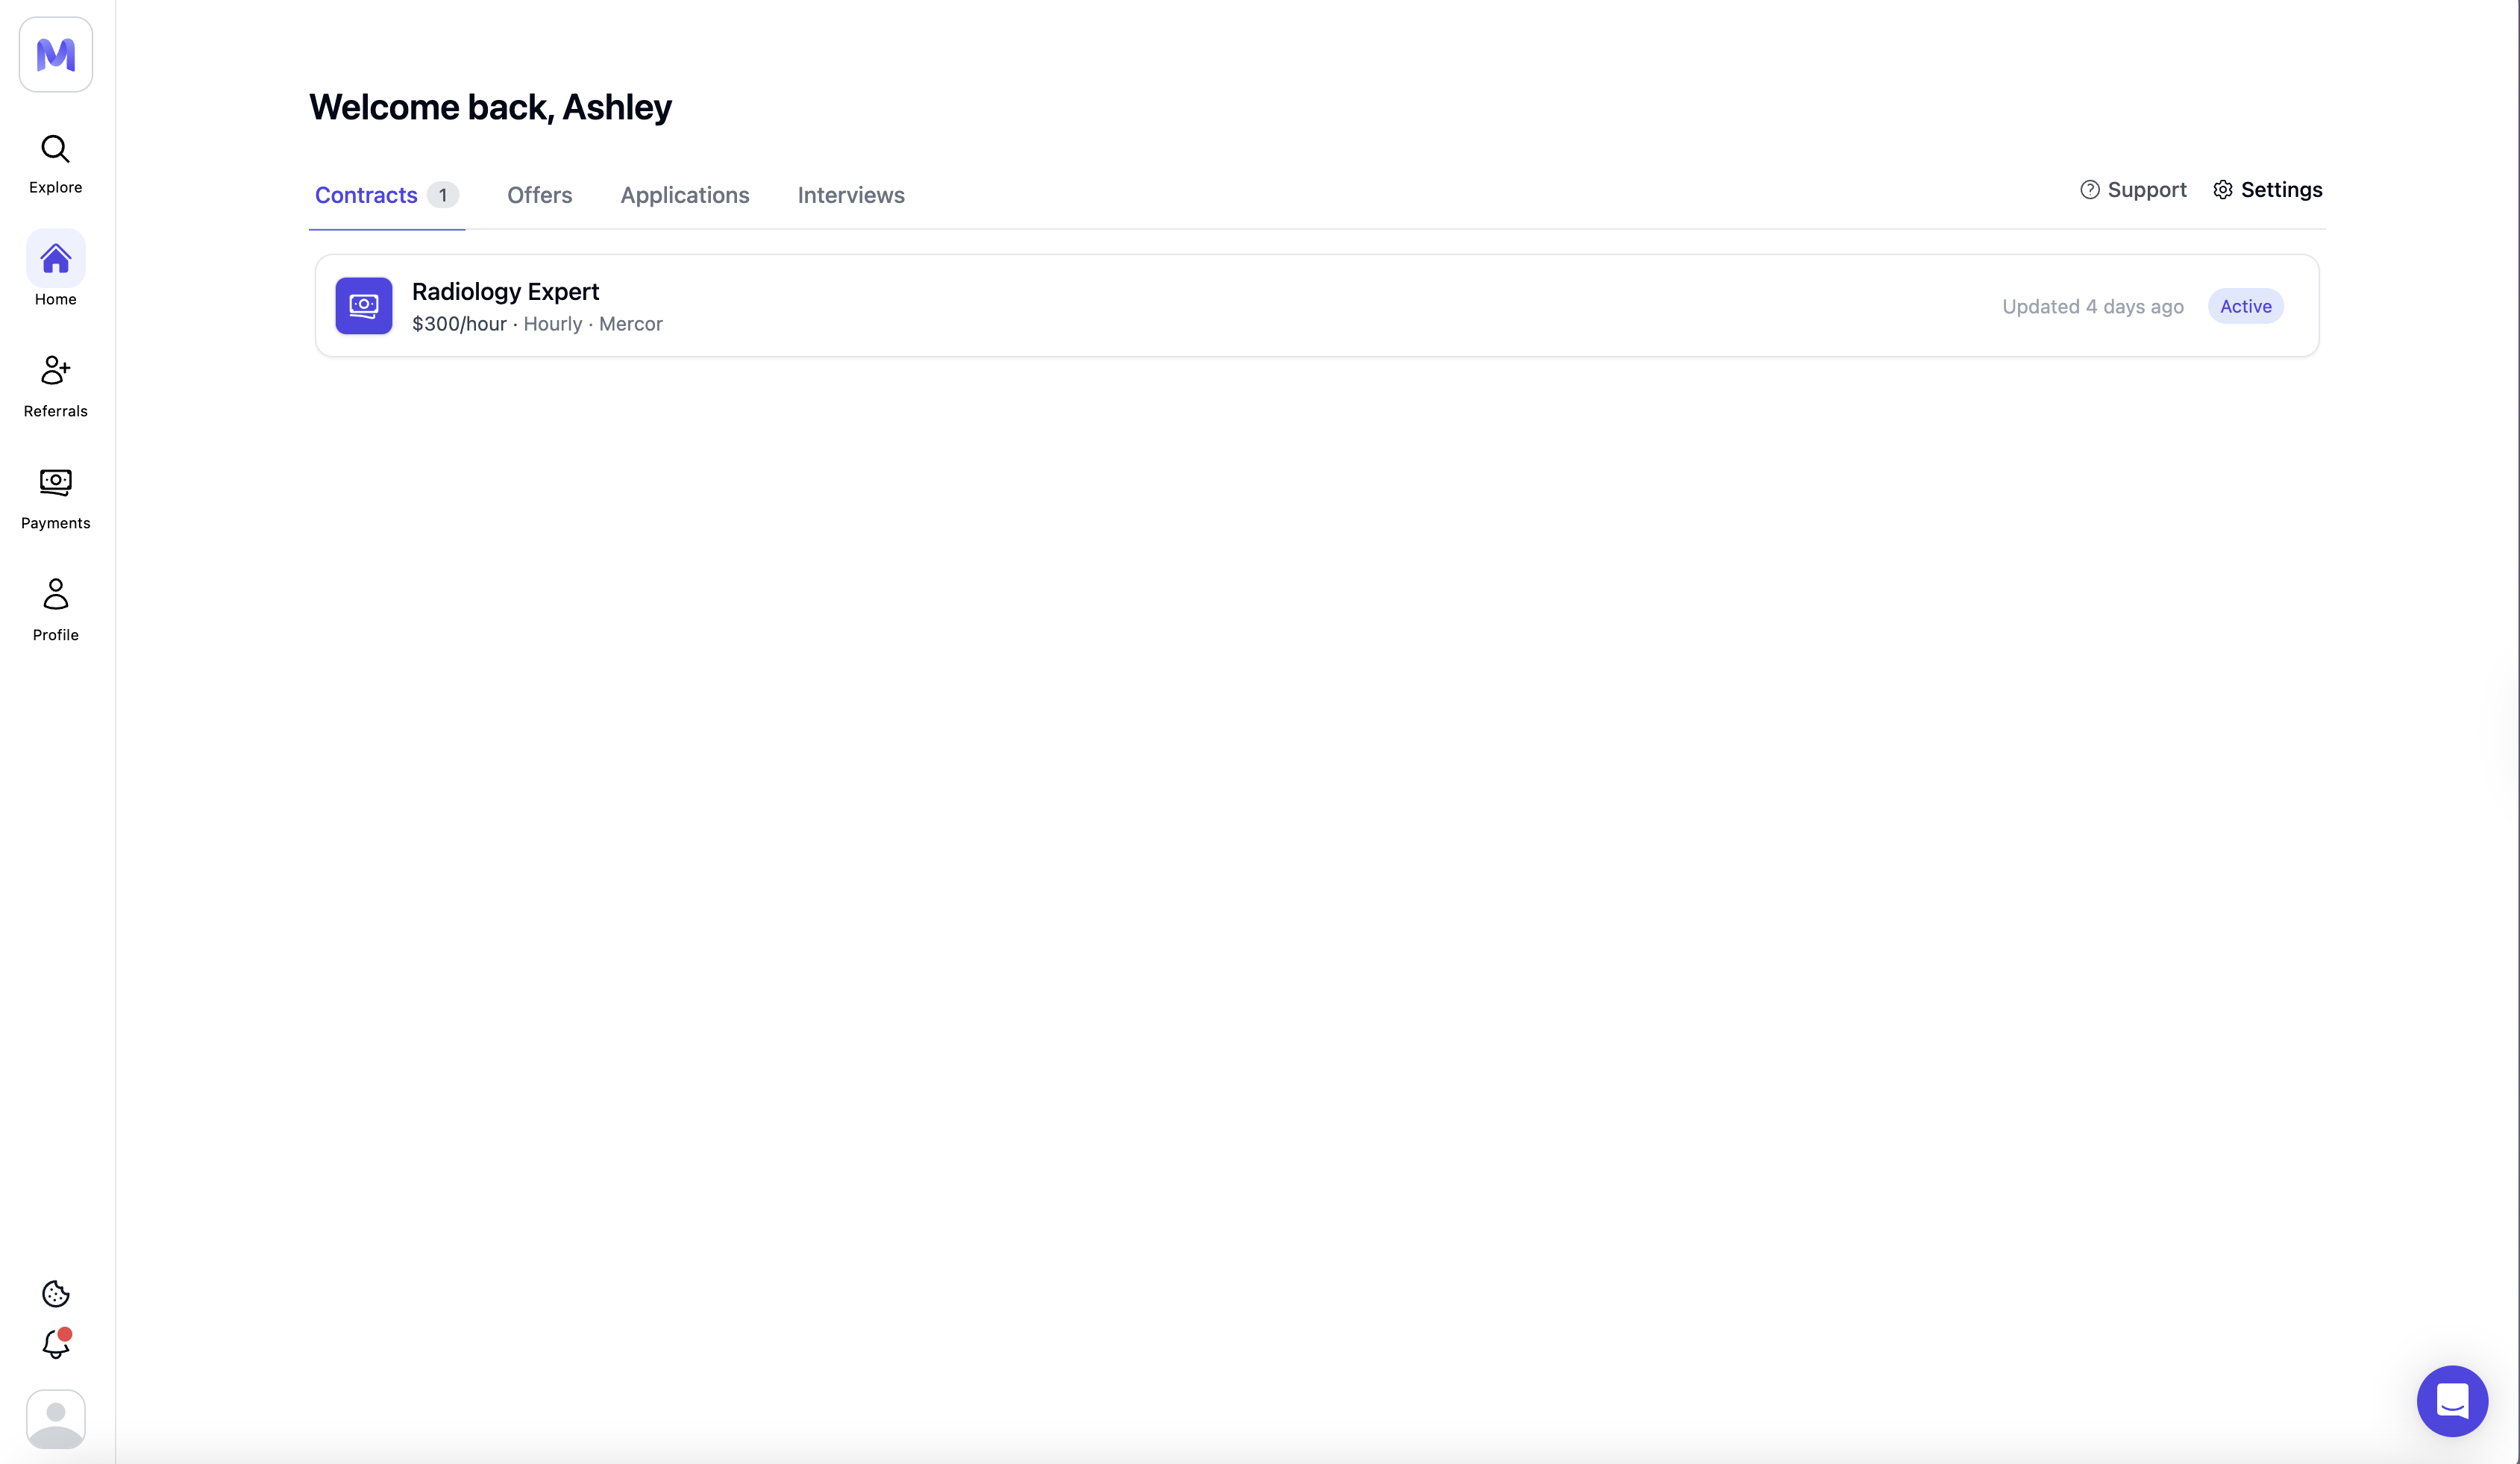
Once you engage with the checklist or accept the offer, it will also be displayed in the **Contracts** tab.
If you are unable to view your offer, please attempt a hard refresh (⇧+Cmd/Ctrl+R), re-login, or try accessing via a different browser.
If the issue persists, kindly contact [support@mercor.com](mailto:support@mercor.com) with your listing link, email address, and a screenshot for further assistance.
 ***
## 2. Offer Page Overview
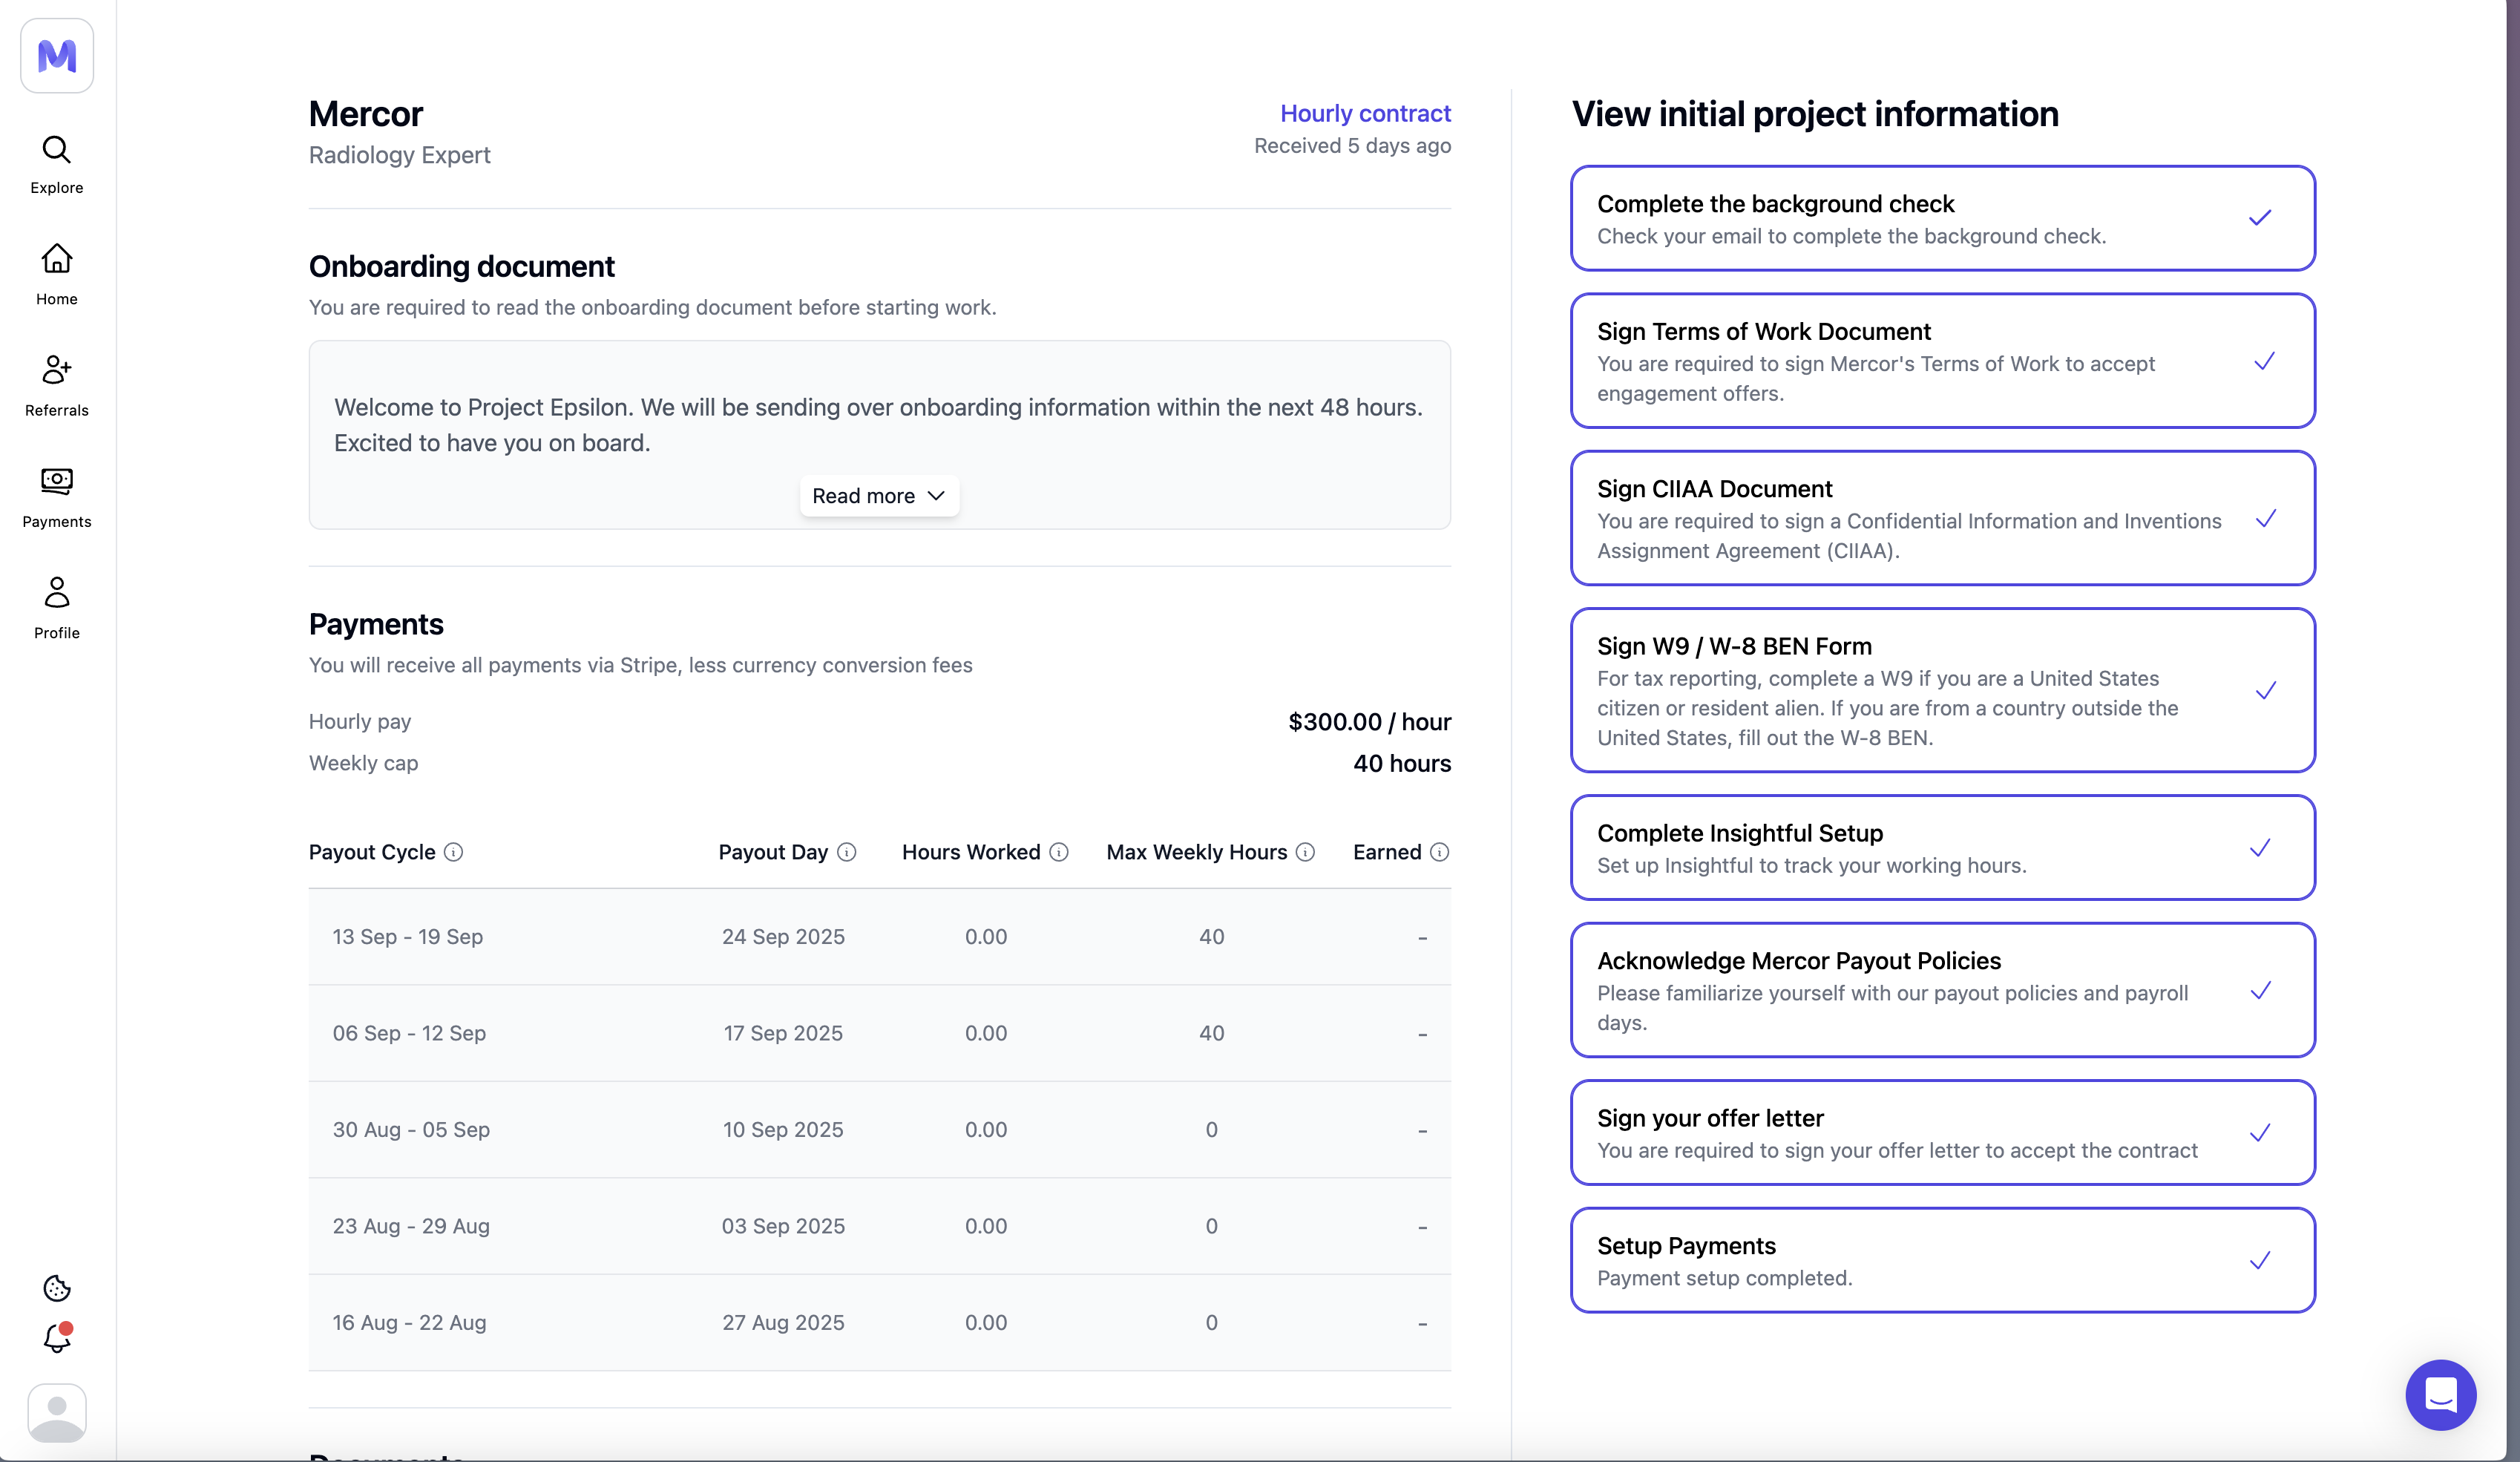
Prior to finalizing the checklist, please review the offer panel located on the left side.
1. **Title & contract type** at the top (e.g., Hourly contract; Received on).
2. **Onboarding document** — **read this first**; it lists project POCs, Slack/Airtable access, and special instructions.
3. **Payments block** — your **Hourly pay** and **Weekly cap**, plus payout schedule table.
4. **Offer details** — start date, remote status, payout cadence.
5. **Documents section** — where signed files (ToW, CIIA, W‑9/W‑8, Offer Letter) will appear for download.
6. **Checklist (right side)** — you’ll complete these items to unlock **Accept offer.**
***
## 2. Offer Page Overview
Prior to finalizing the checklist, please review the offer panel located on the left side.
1. **Title & contract type** at the top (e.g., Hourly contract; Received on).
2. **Onboarding document** — **read this first**; it lists project POCs, Slack/Airtable access, and special instructions.
3. **Payments block** — your **Hourly pay** and **Weekly cap**, plus payout schedule table.
4. **Offer details** — start date, remote status, payout cadence.
5. **Documents section** — where signed files (ToW, CIIA, W‑9/W‑8, Offer Letter) will appear for download.
6. **Checklist (right side)** — you’ll complete these items to unlock **Accept offer.**
 ***
## 3. Offer Acceptance Process
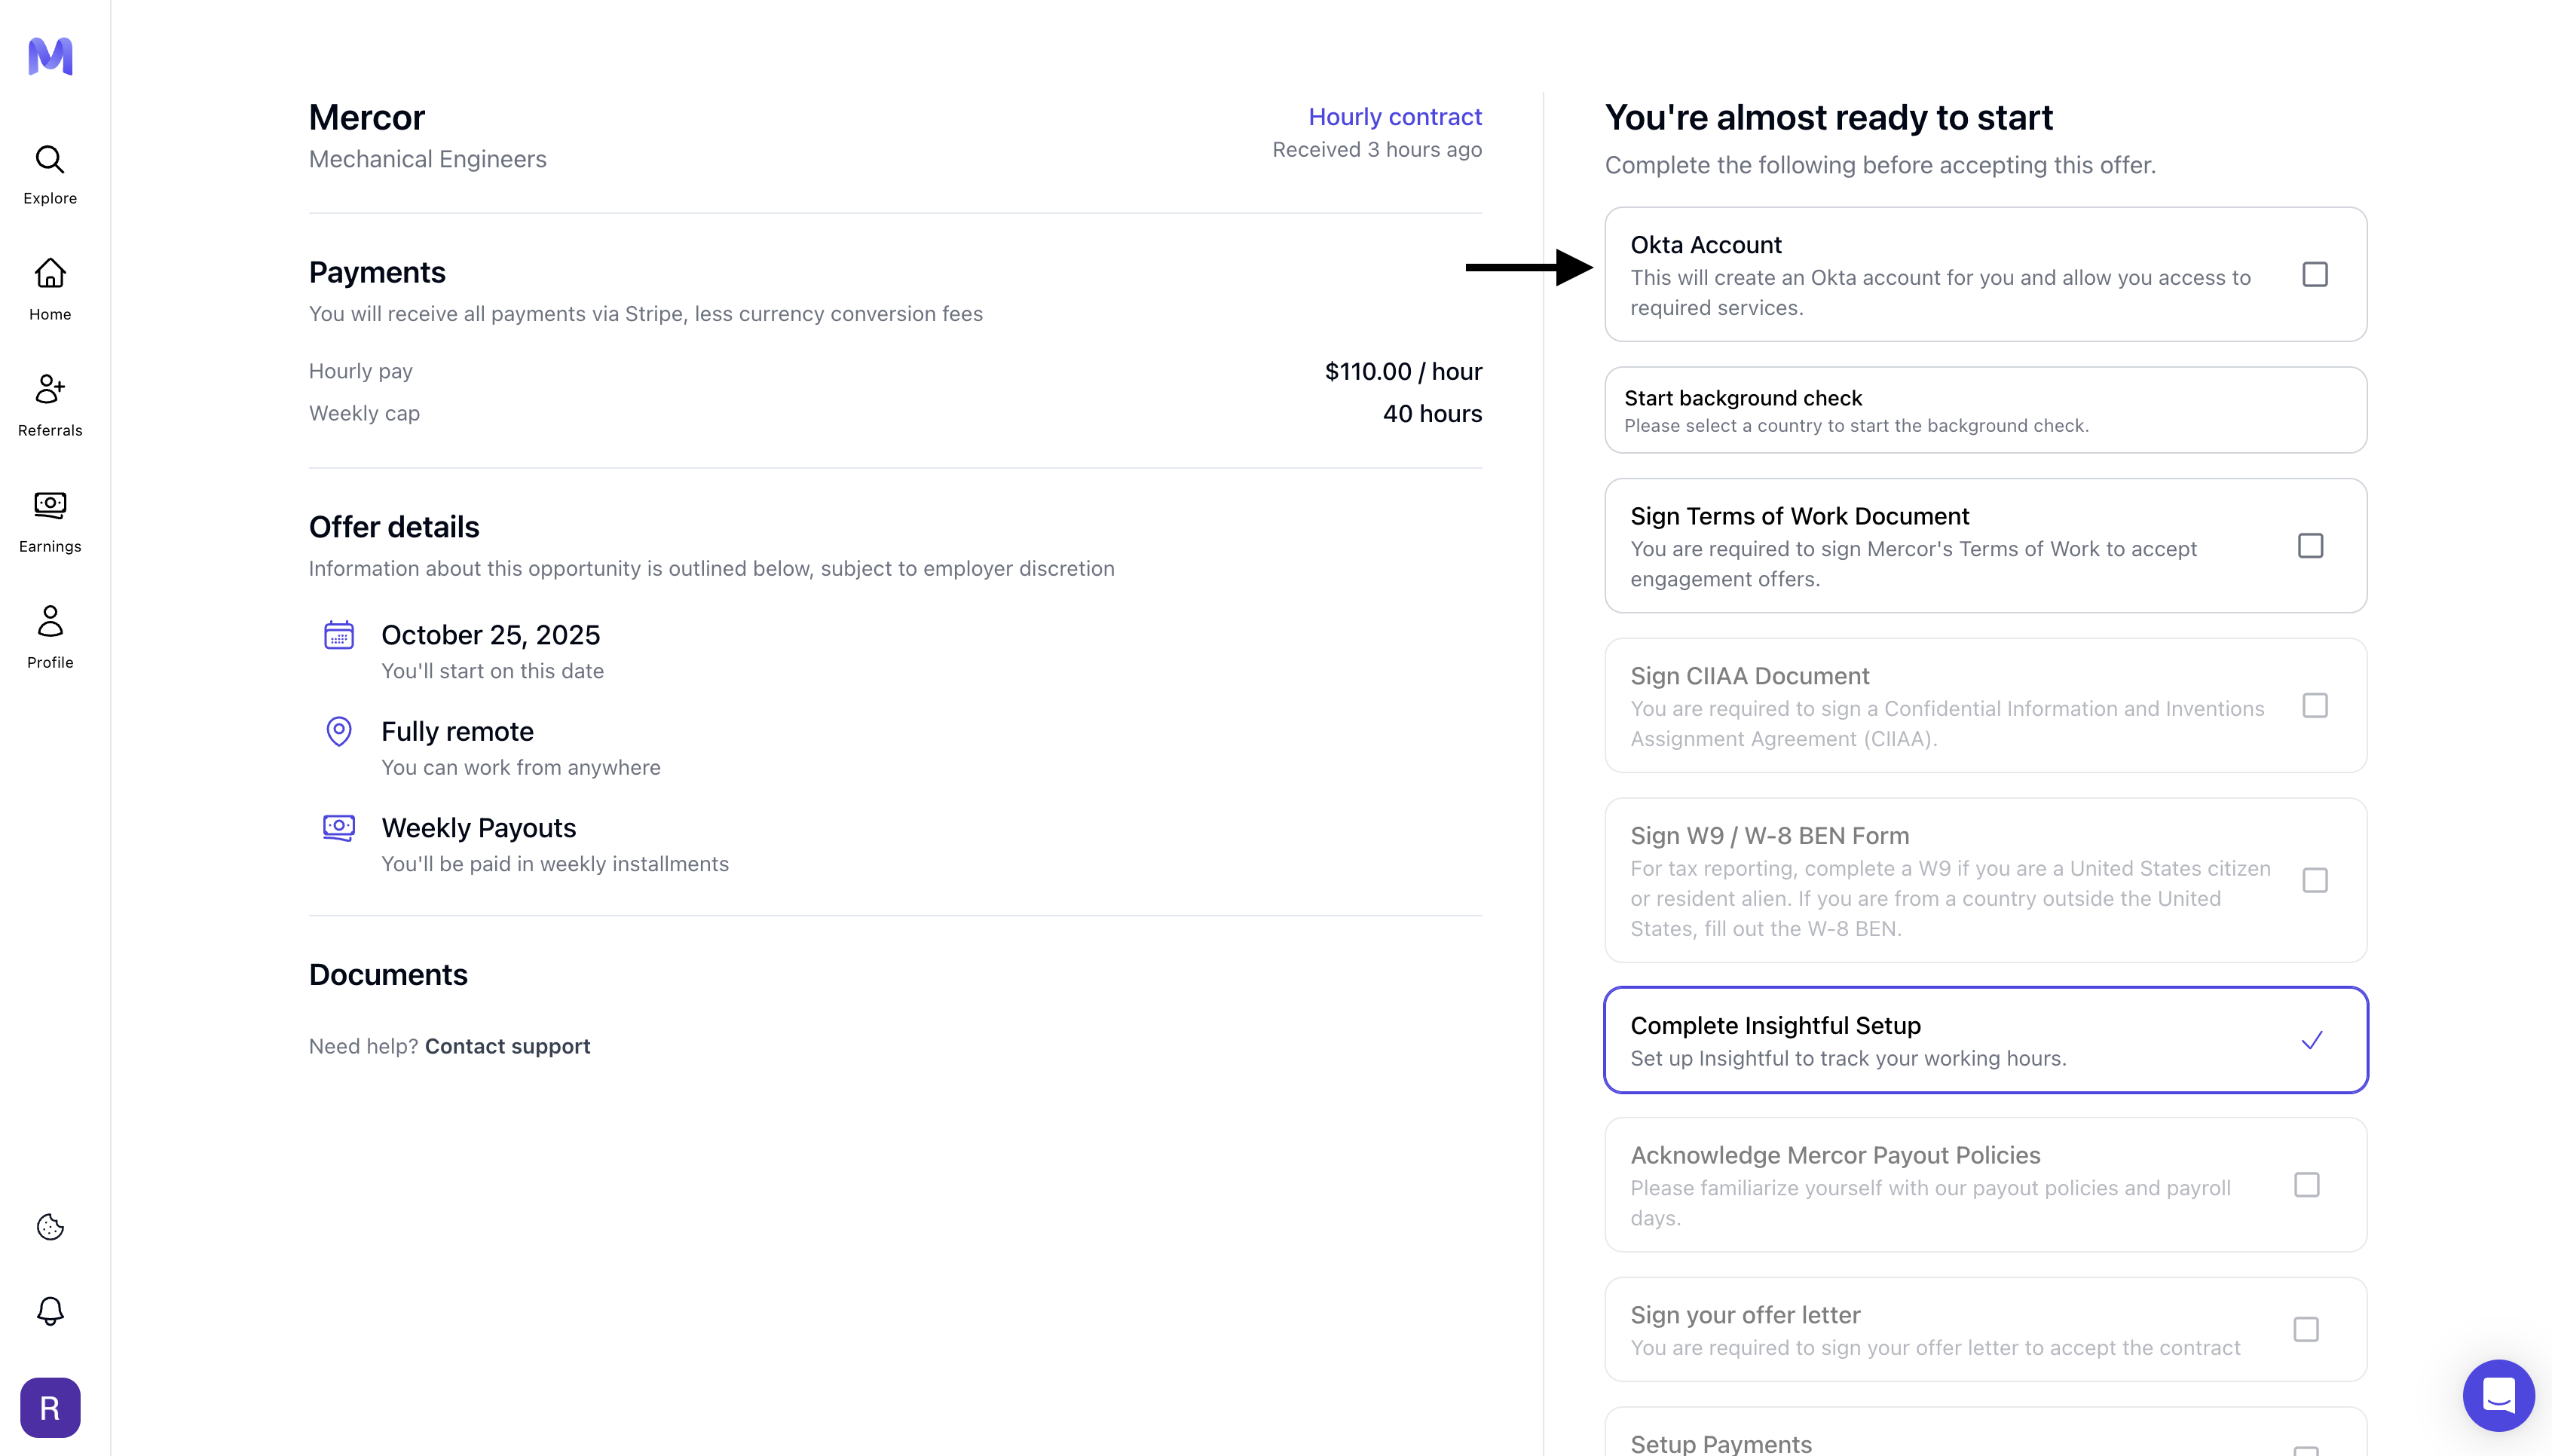
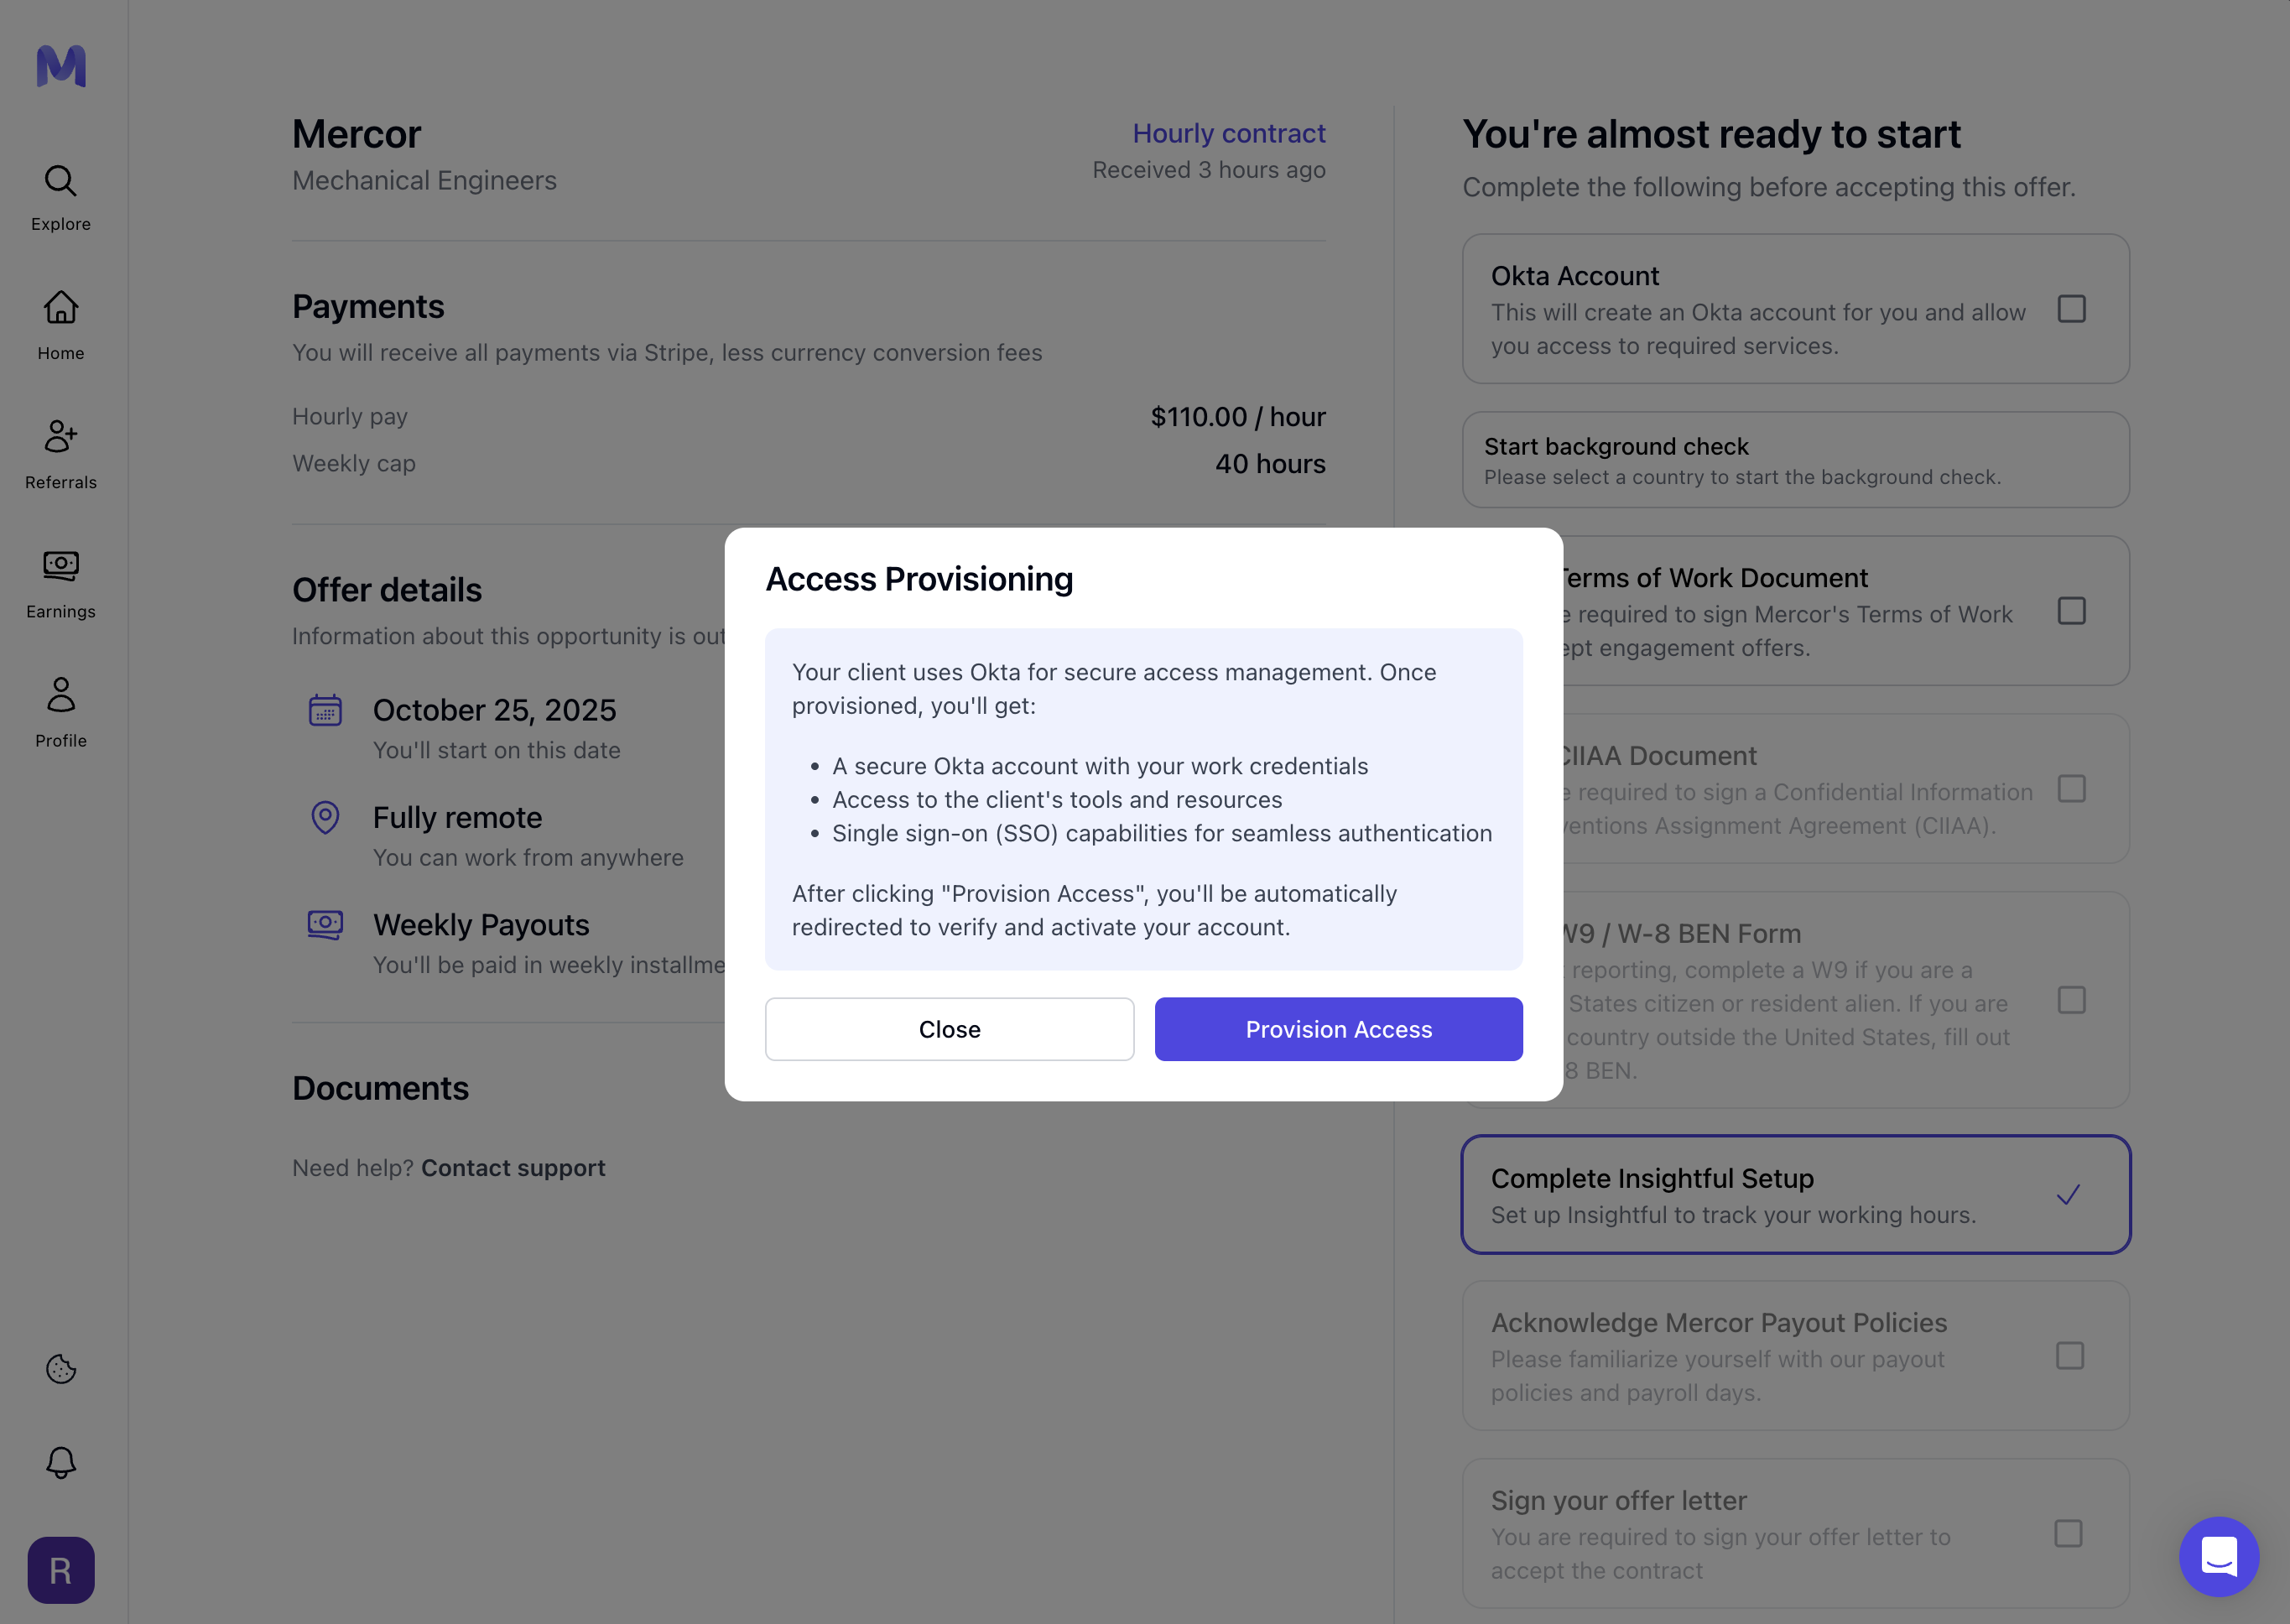
Some projects now use Okta for secure single sign-on (SSO) access to tools like Slack. When you see “Okta Account” as the first checklist item, click it to begin. Use your personal email (same as on work.mercor.com), create a password, and complete multi-factor authentication (MFA). Once set up, you can access all project applications directly through your Okta dashboard.
***
## 3. Offer Acceptance Process
Some projects now use Okta for secure single sign-on (SSO) access to tools like Slack. When you see “Okta Account” as the first checklist item, click it to begin. Use your personal email (same as on work.mercor.com), create a password, and complete multi-factor authentication (MFA). Once set up, you can access all project applications directly through your Okta dashboard.
 Mercor uses Persona to securely verify your identity when accepting a new offer. This process is mandatory and completed only once. You'll upload a government-issued ID and take a selfie video for facial recognition.
Found in the **ID Verification** checklist item in your offer flow.
Mercor uses Persona to securely verify your identity when accepting a new offer. This process is mandatory and completed only once. You'll upload a government-issued ID and take a selfie video for facial recognition.
Found in the **ID Verification** checklist item in your offer flow.
 You’ll be redirected to Persona’s secure interface.
 Please capture a clear photograph of the front, and the back if necessary. Ensure that the image is well-lit and free from glare. A valid government-issued identification must be presented to proceed.
 Record a short video, turning your face left and right.
 You can switch to your phone using a QR code or secure email link.
 Persona will process the submission. Once verified, a green checkmark will appear and the step will be marked as complete.
• Place ID on a dark flat surface\
• Avoid glare or backlight\
• Make sure all corners are visible\
• Slowly move ID to focus if blurry
• Use a well-lit space\
• Center your face\
• Follow instructions to turn head left/right
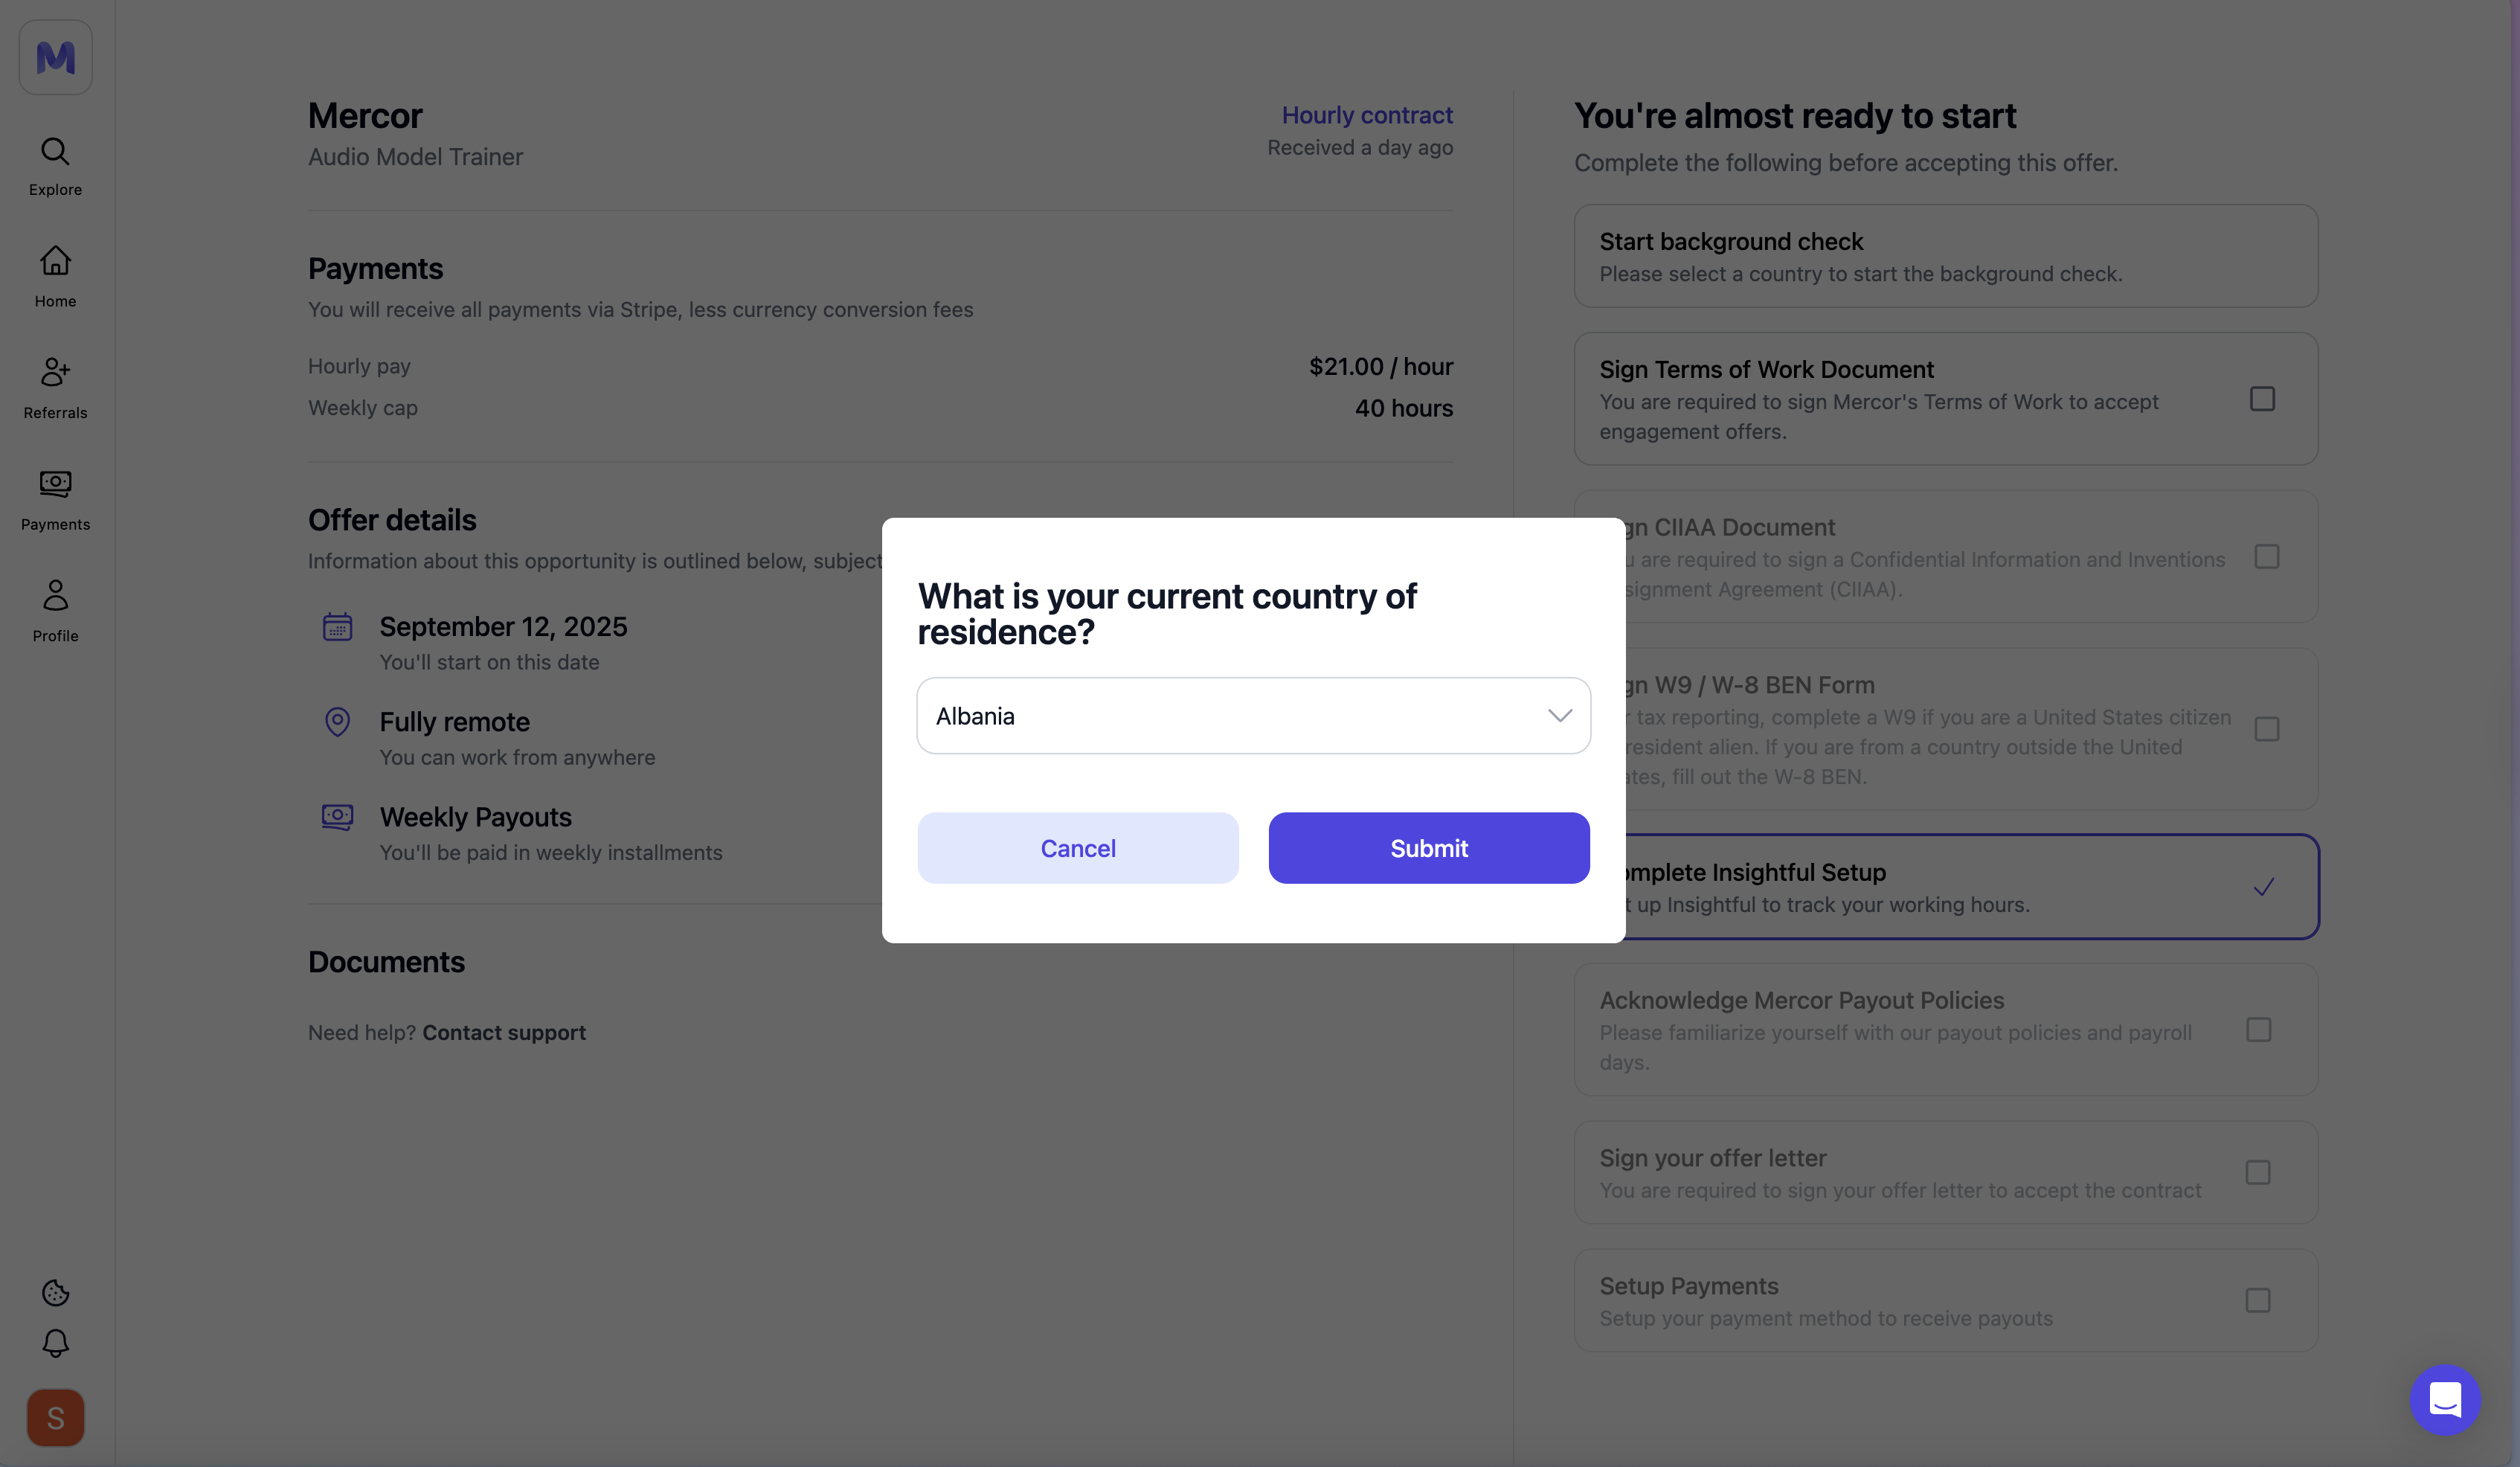
Please select your country of residence. Background checks typically take between one and two weeks. You must be cleared prior to commencing work or logging hours.
Persona will process the submission. Once verified, a green checkmark will appear and the step will be marked as complete.
• Place ID on a dark flat surface\
• Avoid glare or backlight\
• Make sure all corners are visible\
• Slowly move ID to focus if blurry
• Use a well-lit space\
• Center your face\
• Follow instructions to turn head left/right
Please select your country of residence. Background checks typically take between one and two weeks. You must be cleared prior to commencing work or logging hours.
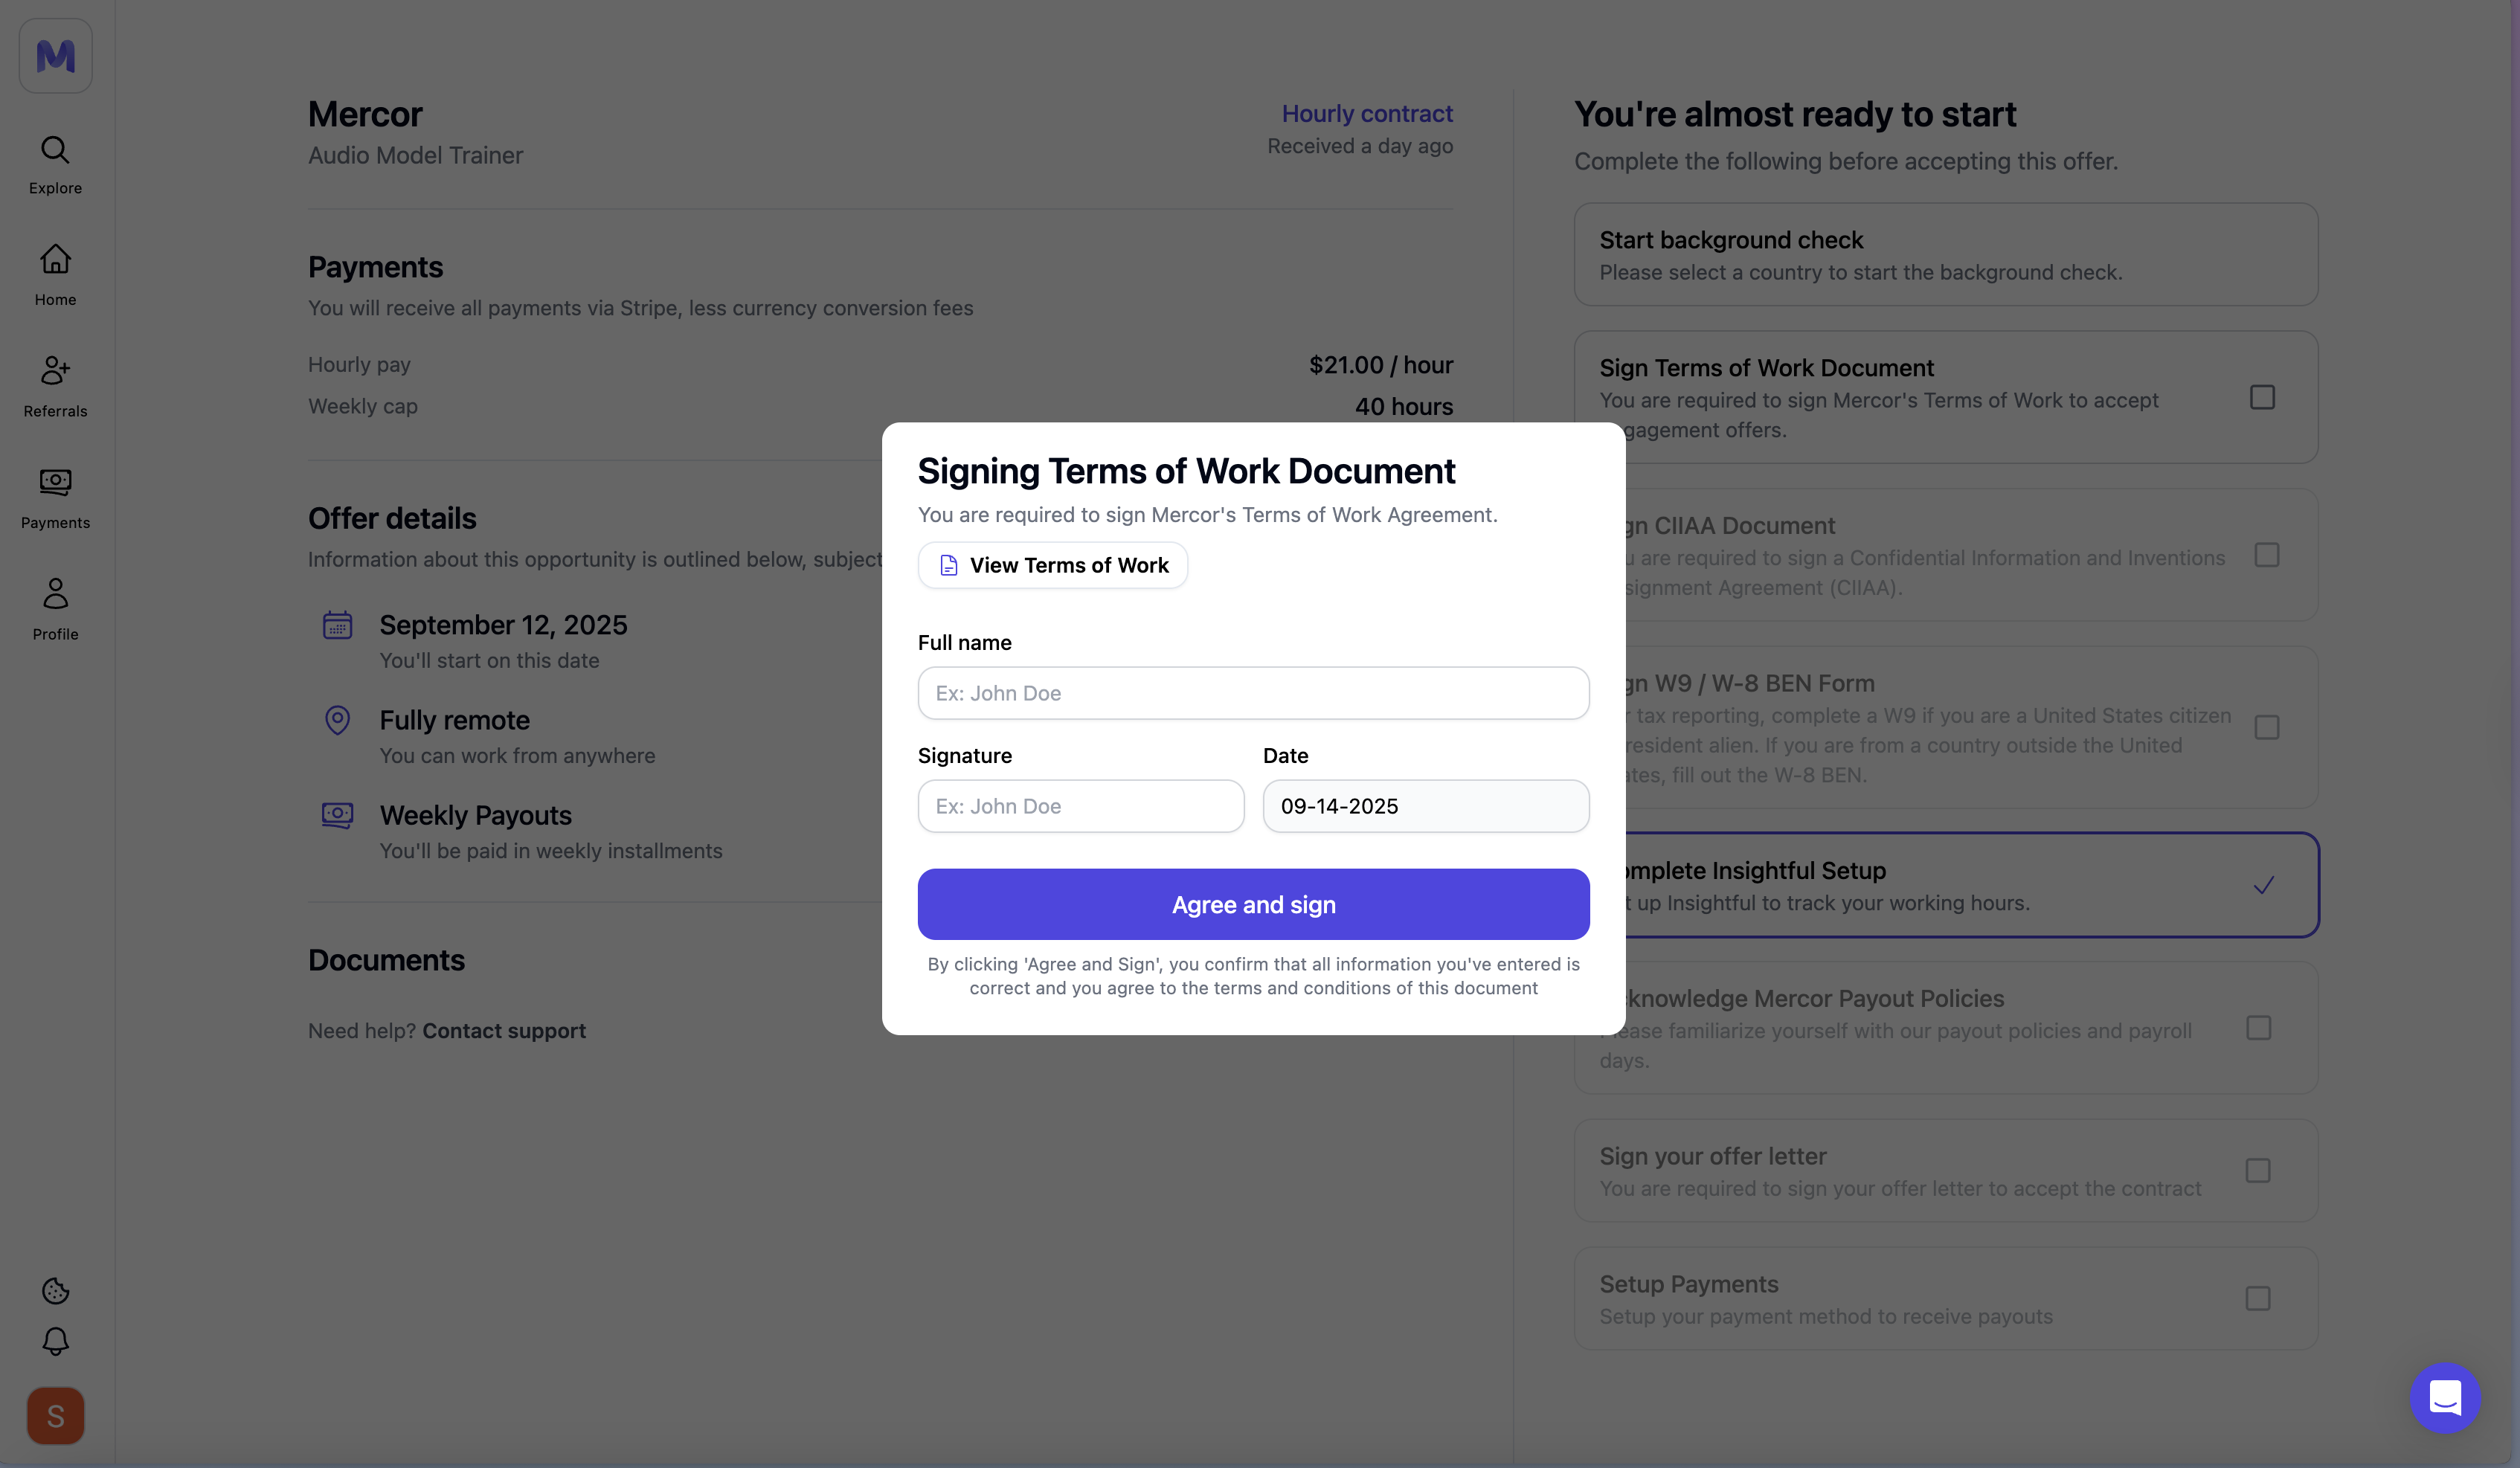
 Please click on "View Terms of Work", then sign using your full name and the date.
 Please sign the IP/confidentiality agreement. Contact support if a reset is required.
Please complete the form applicable to your residency.
Select the checklist item and adhere to the instructions to install the application.
Review the payout schedule and anticipated payment timelines.
This becomes available once the preceding steps have been completed.
Please sign the IP/confidentiality agreement. Contact support if a reset is required.
Please complete the form applicable to your residency.
Select the checklist item and adhere to the instructions to install the application.
Review the payout schedule and anticipated payment timelines.
This becomes available once the preceding steps have been completed.
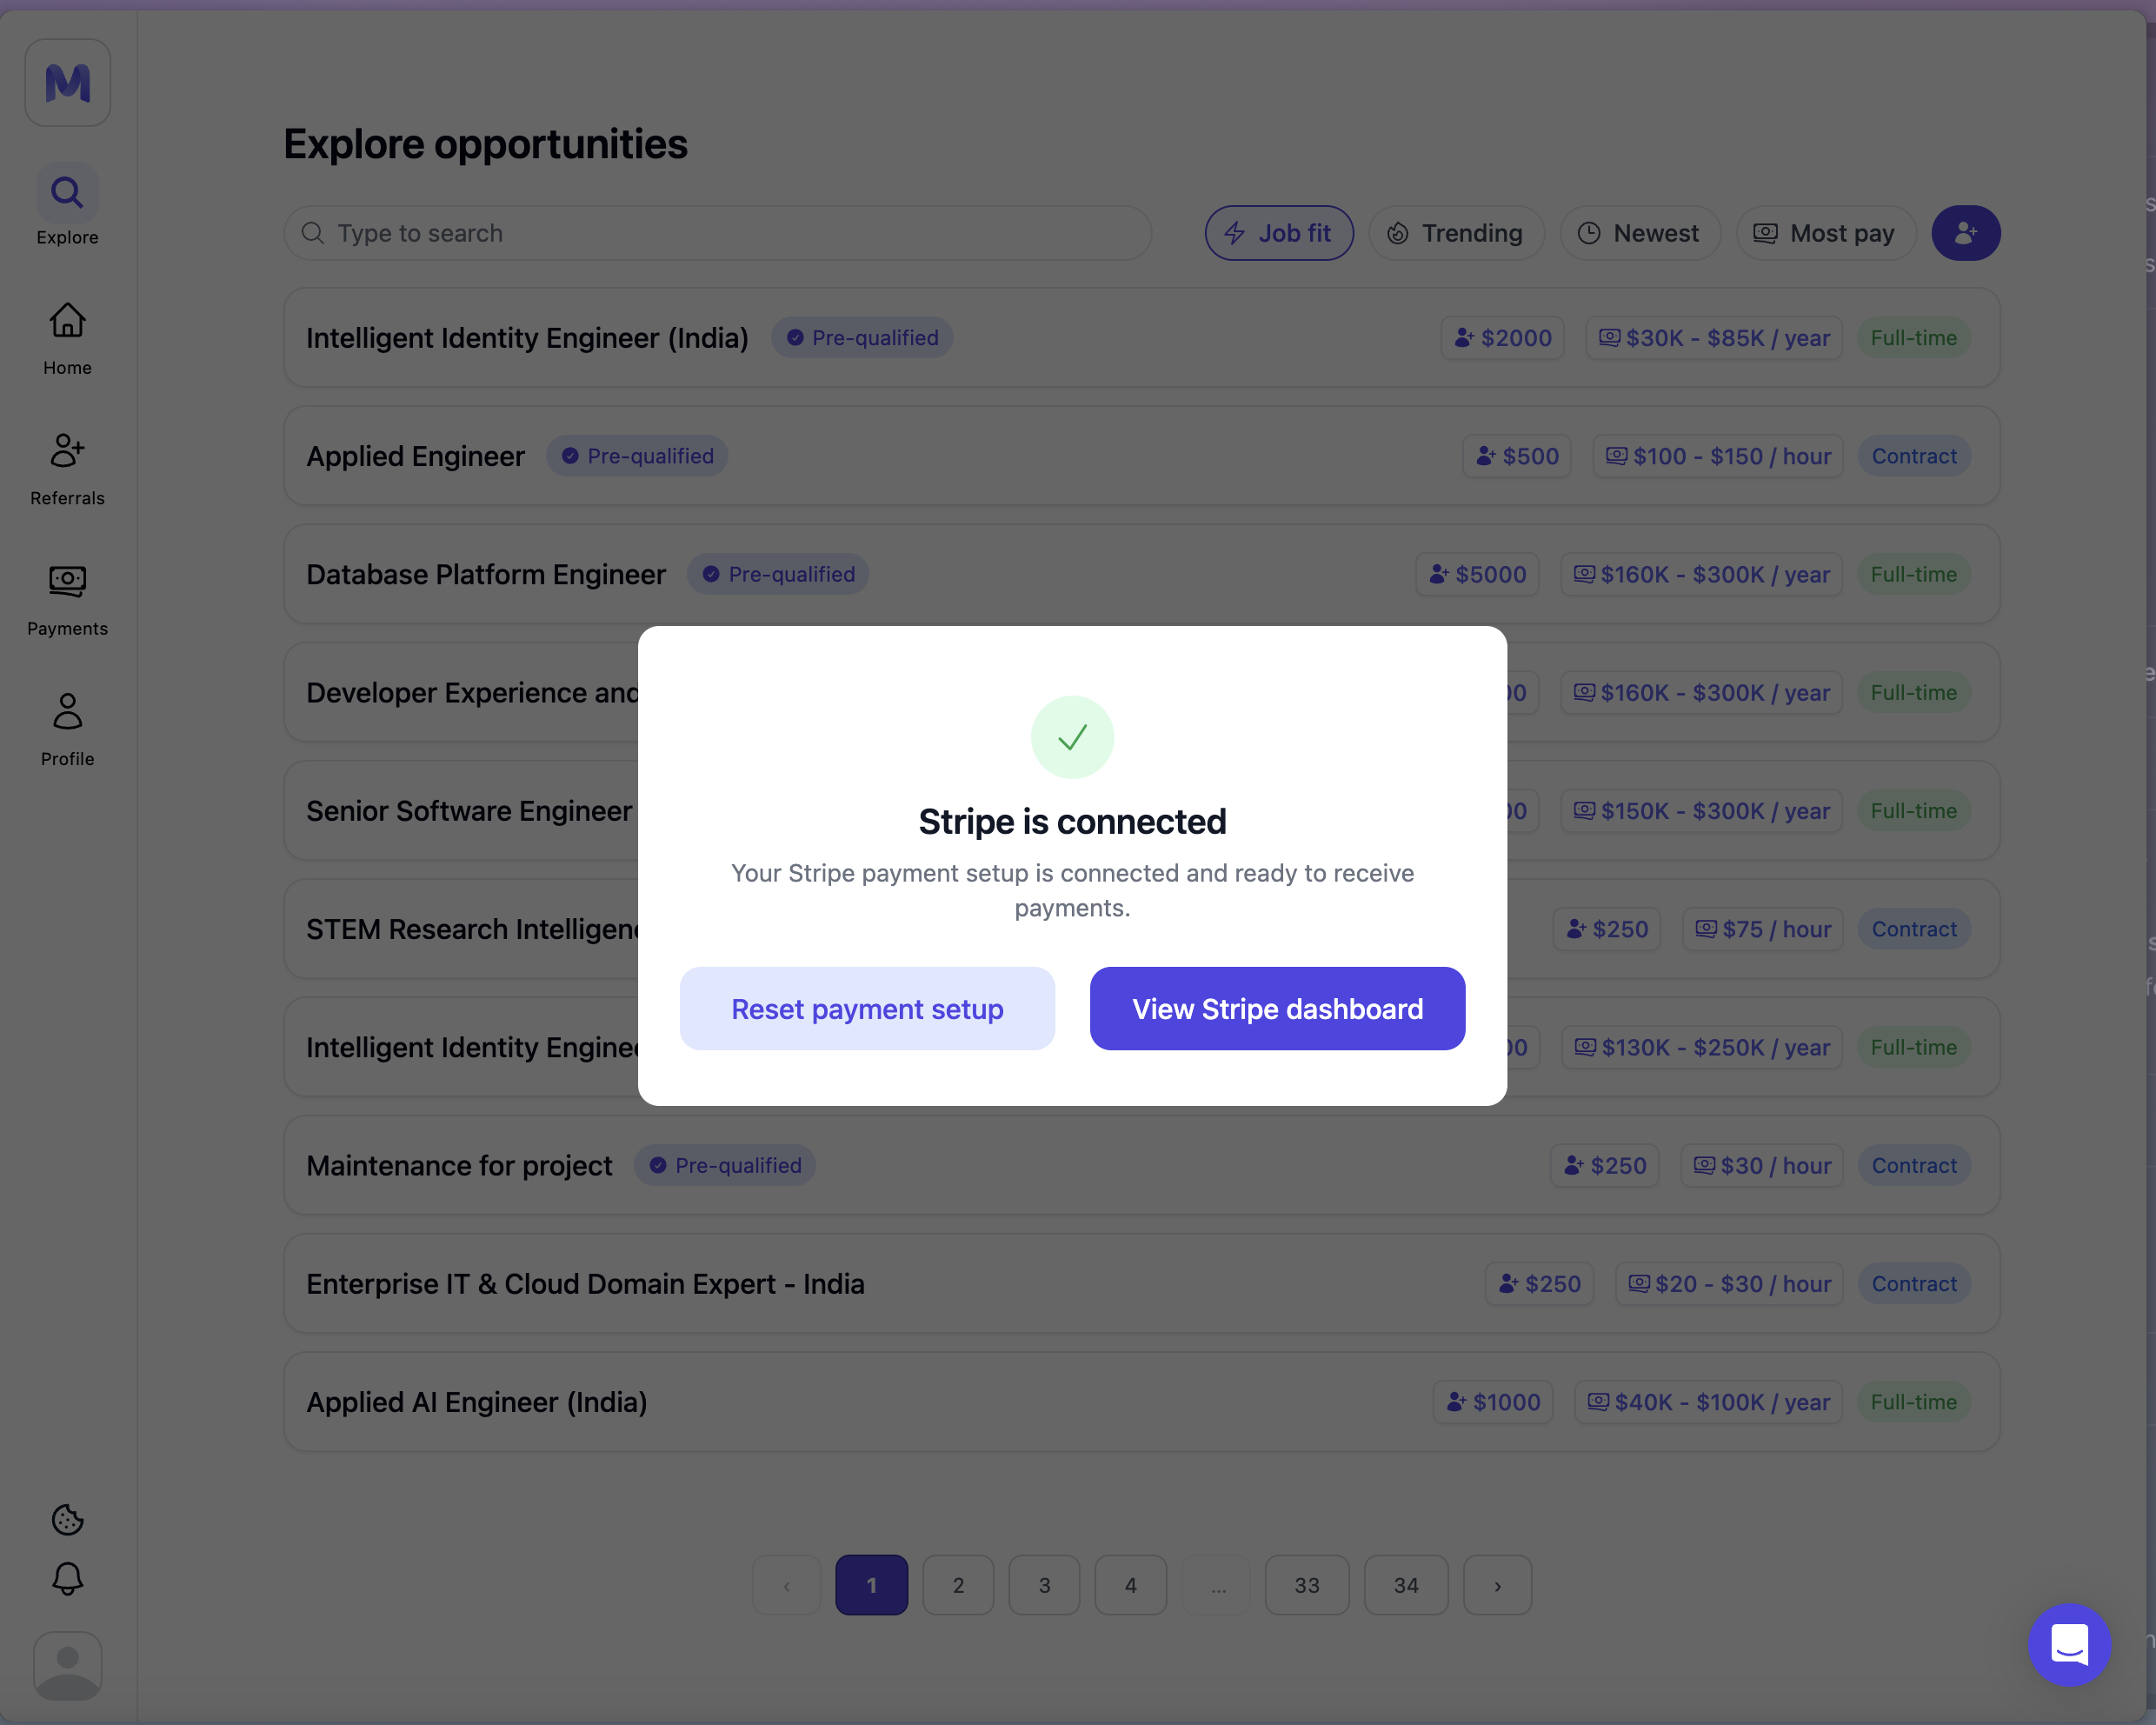
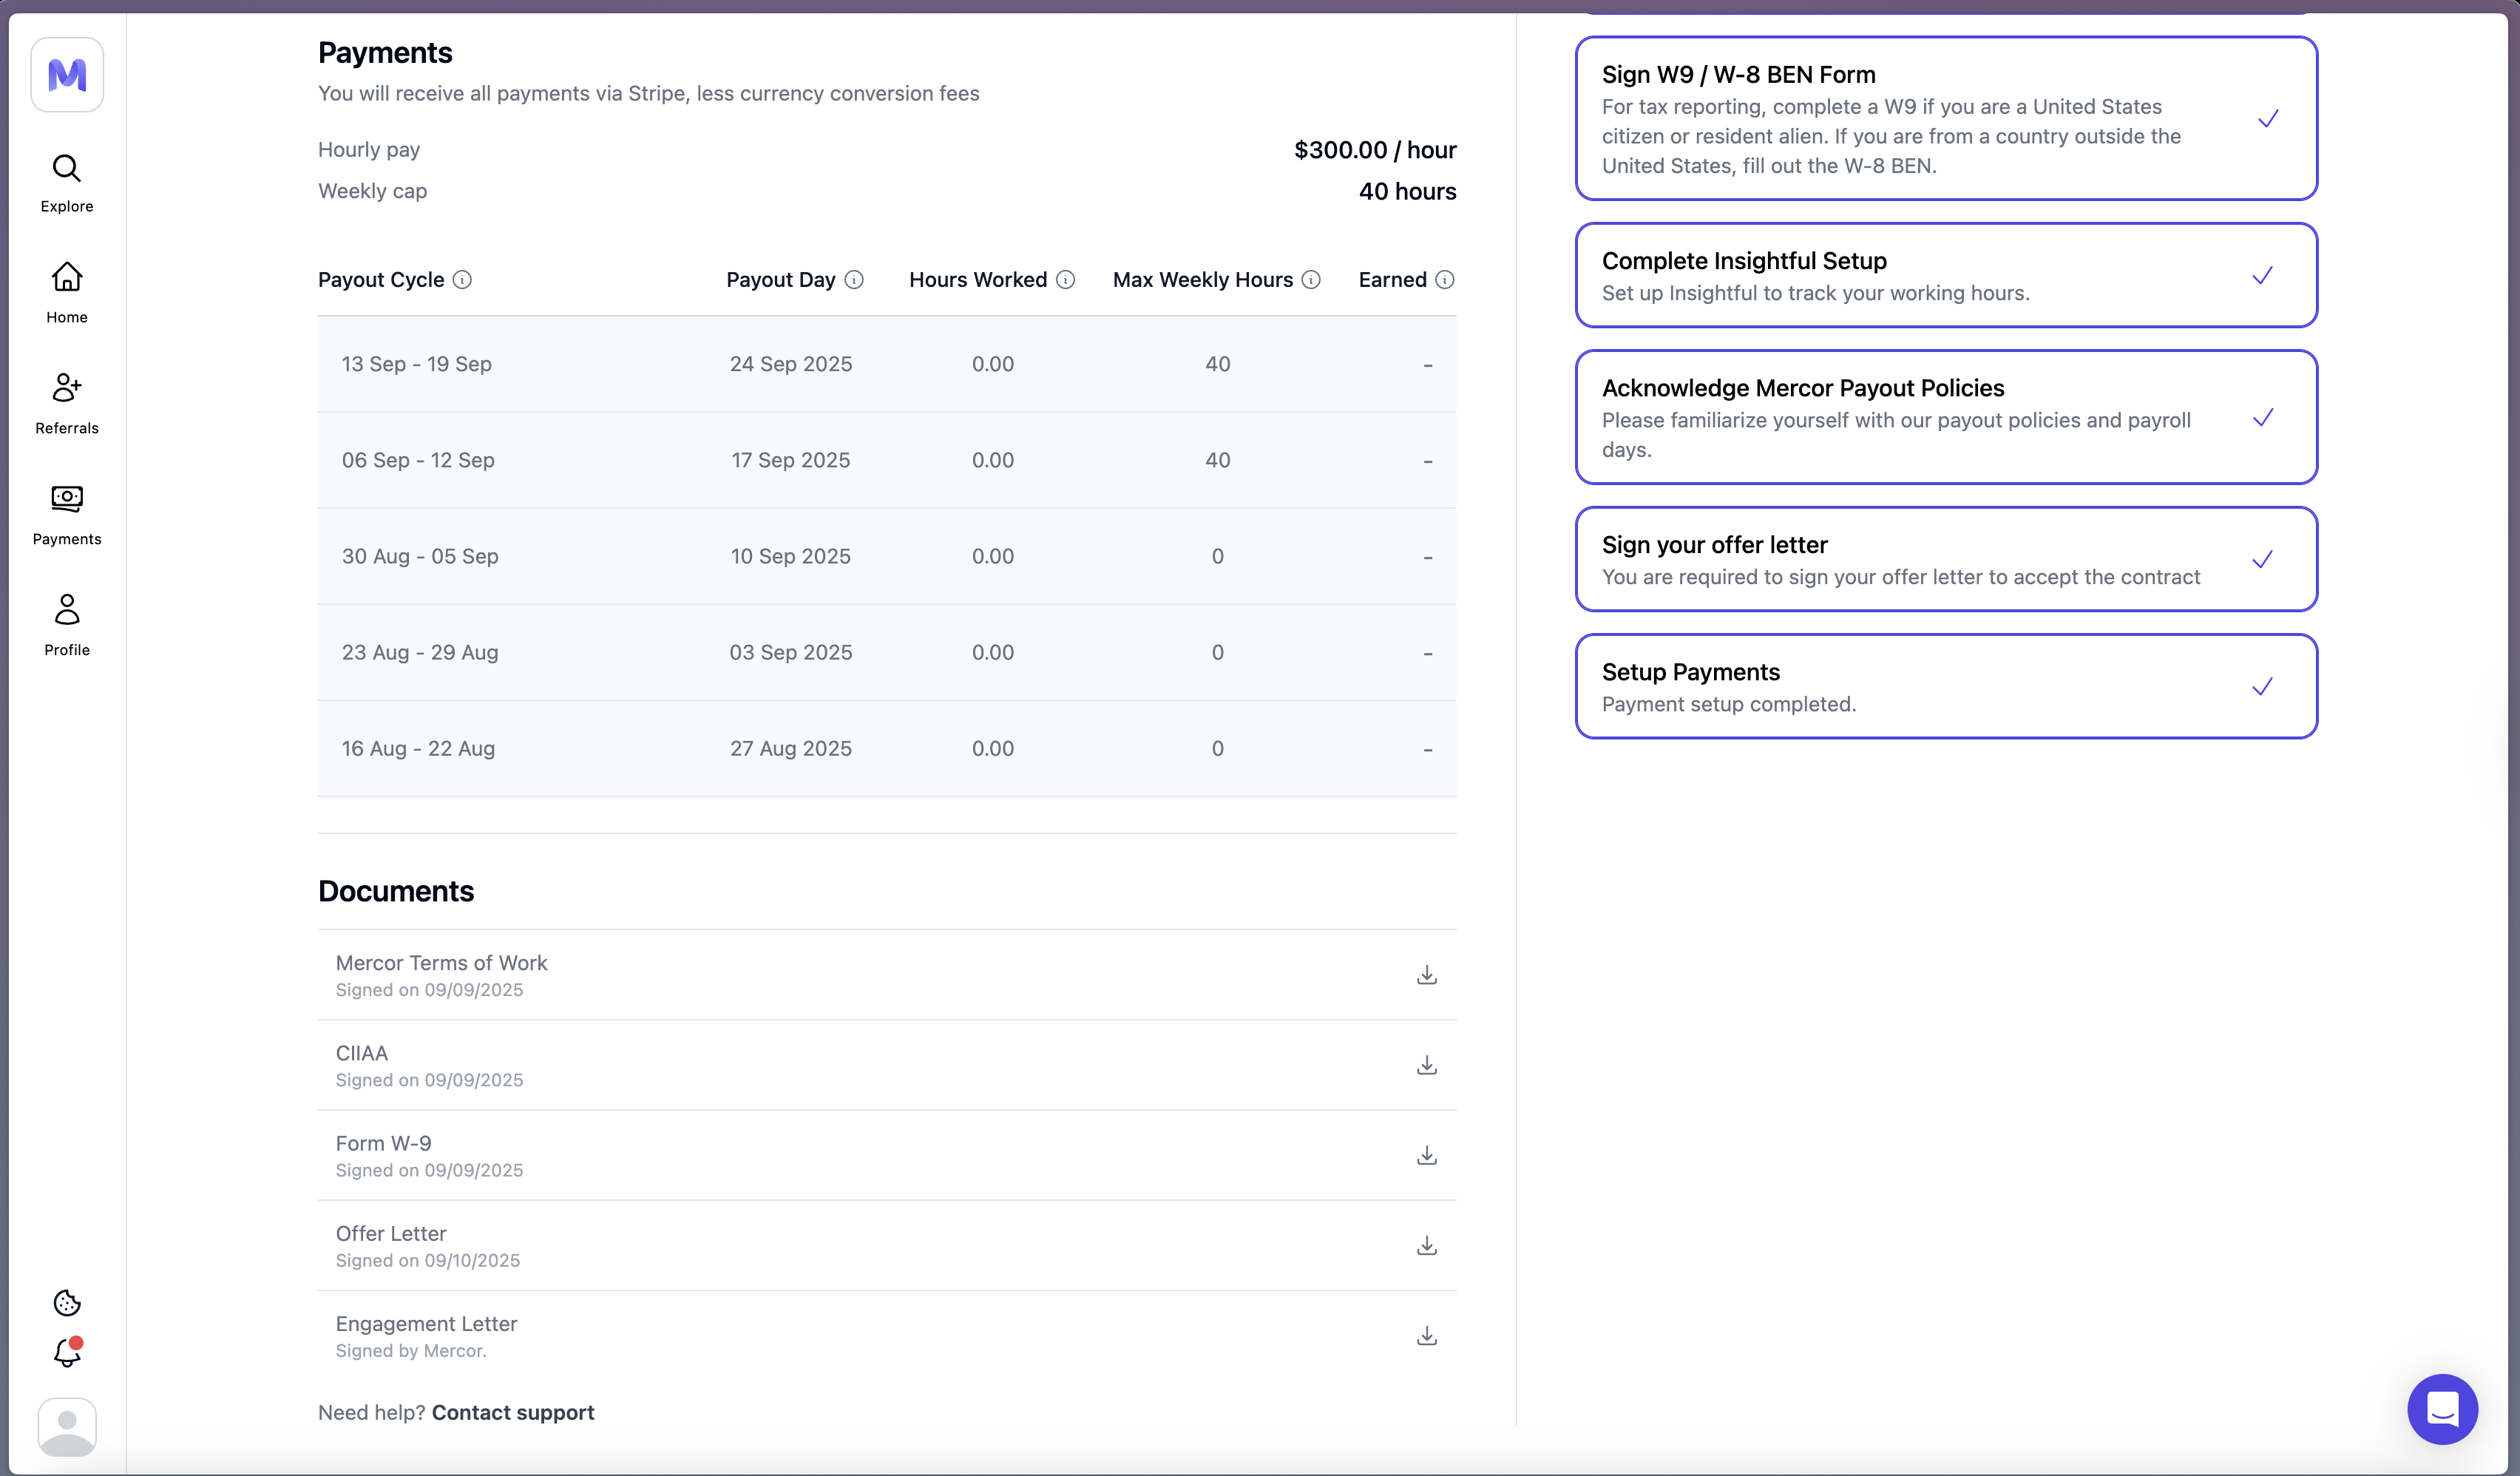 Stripe is set as the default option. Wise is utilized in certain regions. If necessary, please reset and repeat the onboarding process.
 If you inadvertently decline an offer, please contact Support with your listing link and email.
Take a screenshot of your offer (rate + cap) before accepting. If anything is missing, try a hard refresh (⇧+Cmd/Ctrl+R).
***
## 4. Setting Up Your Payment Method
Initiate the payment setup process from the offer page.
Enter the legal name, country, and banking details.
If Stripe is unavailable in your country, Wise will be utilized.
Please confirm your Stripe or Wise account via email if prompted.
Your initial payout through Stripe is subject to a mandatory hold period of 7 days. The deposit to your bank account typically requires 3 to 7 business days following the payment confirmation by Stripe.
Ensure that the identical legal name is consistently used across the Offer, Stripe/Wise, and your bank account.
***
## 5. Background Checks
You will receive an email from the background check provider (e.g., Certn).
Please do not delay, as a background check is mandatory.
Results will be available within 5 to 7 business days, contingent upon the recipient's country.
Please check your spam and “updates” folders in your personal email account. If your check is delayed beyond seven business days, kindly contact [support@certn.co](mailto:support@certn.co) and [support@mercor.com](mailto:support@mercor.com) with your report ID.
## Related Pages
Common questions and troubleshooting during onboarding and beyond.
First steps once your onboarding is complete and you're ready to work.
Understand what happens when your project ends and how to transition smoothly.
If you inadvertently decline an offer, please contact Support with your listing link and email.
Take a screenshot of your offer (rate + cap) before accepting. If anything is missing, try a hard refresh (⇧+Cmd/Ctrl+R).
***
## 4. Setting Up Your Payment Method
Initiate the payment setup process from the offer page.
Enter the legal name, country, and banking details.
If Stripe is unavailable in your country, Wise will be utilized.
Please confirm your Stripe or Wise account via email if prompted.
Your initial payout through Stripe is subject to a mandatory hold period of 7 days. The deposit to your bank account typically requires 3 to 7 business days following the payment confirmation by Stripe.
Ensure that the identical legal name is consistently used across the Offer, Stripe/Wise, and your bank account.
***
## 5. Background Checks
You will receive an email from the background check provider (e.g., Certn).
Please do not delay, as a background check is mandatory.
Results will be available within 5 to 7 business days, contingent upon the recipient's country.
Please check your spam and “updates” folders in your personal email account. If your check is delayed beyond seven business days, kindly contact [support@certn.co](mailto:support@certn.co) and [support@mercor.com](mailto:support@mercor.com) with your report ID.
## Related Pages
Common questions and troubleshooting during onboarding and beyond.
First steps once your onboarding is complete and you're ready to work.
Understand what happens when your project ends and how to transition smoothly.